


Yes, tape-in extensions can be reused when the hair and weft are still healthy and the adhesive gets professionally replaced. The tape, not the hair, is the part designed to wear out. With premium hair, correct removal, and fresh tape at each move-up, most sets handle several reuse cycles before you need a new install. Skip these steps and you risk damaged wefts that can’t hold new adhesive at all.
TL;DR:
Reusable tape-in extensions depend on the health of the hair inside the weft, with Remy human hair lasting longer than non-Remy or synthetic blends.
Proper removal involves using a professional-grade adhesive remover, gentle separation, and sufficient dwell time to prevent damage.
Cleaning residue thoroughly with a clarifying shampoo and air drying before retaping is essential to ensure strong, long-lasting bonds.
High-quality, cuticle-intact hair can typically be retaped three to five times, with six to eight weeks being the standard interval between move-ups.
Daily care practices, including gentle brushing, sulfate-free products, and careful storage, significantly extend the reuse cycle of tape-in extensions.
Table of Contents
-
What Are Tape-In Hair Extensions, and Why Does Construction Matter for Reuse?
-
How Do You Remove Tape-Ins Safely Without Damaging the Weft?
-
How Do You Clean Adhesive Residue Off the Weft Before Retaping?
-
How Many Times Can You Retape Tape-Ins, and When Should You Move Up?
What Are Tape-In Hair Extensions, and Why Does Construction Matter for Reuse?
Tape-in extensions work on a sandwich method. Two thin wefts, usually around 1.5 to 4 centimeters wide, get pressed together around a small section of your natural hair, with the adhesive strips bonding top and bottom. Done correctly, that sandwich lies flat against the scalp and holds for weeks without shifting.
What determines whether you can retape a set later has almost nothing to do with the tape itself and everything to do with the hair inside it. Remy human hair, where the cuticle layers all run in the same direction, holds up to repeated handling far better than non-Remy or synthetic blends. Non-Remy hair tangles faster, sheds more, and often can’t survive the brushing and repositioning that reuse demands.
The adhesive is the sacrificial component here. Stylists treat it as a consumable, something you expect to strip and replace, not something you try to preserve. That distinction changes how you should think about the whole process:
-
The weft base and the hair strands are the investment worth protecting.
-
The tape itself is disposable and gets swapped at every move-up.
-
Handling the weft roughly during removal, not the adhesive failing, is what usually shortens a set’s lifespan.
Most guides recommend replacing the adhesive every time you move a set up, and note that high-quality tape-in hair can be retaped multiple times when it’s cared for properly between installs. That’s the whole premise behind reuse: separate the durable part from the disposable part, and treat each one accordingly.
Can You Reuse Tape-Ins? A Decision Checklist
Before you plan on retaping a set, run through a quick check. Reuse only makes sense when the hair itself still performs like new hair, not like hair that’s been through a rough few months.
Ask yourself these questions before removal day:
-
Hair health: Does the hair still feel soft and move freely, or has it turned dry and brittle?
-
Weft condition: Is the weft base intact and flat, with no fraying or exposed threads?
-
Shedding level: When you run your fingers through the ends, do more than a few strands come loose?
-
Chemical and heat exposure: Has the set been color-treated, bleached, or exposed to high heat without protection since the last install?
If you answered “no” to the first two and “yes” to the last two, replacement is the more honest move. Matted wefts, visibly damaged cuticle, or excessive shedding are signs the hair has already given you its best cycle. Trying to retape a compromised weft usually ends in a patchy, thin-looking result that no amount of styling can fix.
Pro Tip: If your natural hair is fine or fragile, ask your stylist about mini-tapes instead of standard-width wefts at your next move-up. Smaller tapes placed strategically spread the weight across more points on your scalp, which reduces tension on both your natural hair and the extension weft, helping both last longer.
How Do You Remove Tape-Ins Safely Without Damaging the Weft?
Removal is where most reuse attempts succeed or fail. Rushing this step, or using the wrong products, is the single fastest way to ruin a weft that could otherwise survive several more installs.
Tools you’ll need:
-
Professional-grade adhesive remover (oil-based or citrus-solvent formulas made specifically for tape extensions)
-
A wide-tooth comb or tail comb for separating bonds
-
Sectioning clips to isolate the row you’re working on
-
Microfiber towels to catch loosened adhesive and protect your work surface
The process, step by step:
-
Section the hair so you’re working on one tape row at a time, clipping the rest out of the way.
-
Apply the adhesive remover directly to the bond, saturating both sides of the tape.
-
Let it sit. Most professional solvents need 30 to 60 seconds of dwell time to fully break down the adhesive, according to removal guides used across the industry.
-
Gently separate the tape with your fingers or a tail comb, sliding rather than pulling. The bond should release with minimal resistance once the solvent has done its work.
-
Set each weft aside intact as you remove it, keeping the row order if you plan to reinstall the same set.
The mistakes that ruin reusable sets almost always trace back to impatience. Pulling before the solvent has finished working stretches the tape and can tear the weft base. Household solvents like rubbing alcohol or nail polish remover aren’t formulated for hair extension adhesive and can dry out the cuticle or leave a residue that blocks new tape from bonding later. Cutting the solvent’s dwell time short forces you to yank at bonds that haven’t released, which is where natural hair breakage happens too.
Pro Tip: A professional stylist can remove a full head of tape-ins in under 30 minutes using the correct solvent and technique. If you’re removing your own set for the first time, budget at least twice that long, and don’t rush the dwell time just because you’re impatient to see the result.
How Do You Clean Adhesive Residue Off the Weft Before Retaping?
Once the wefts are off, they’re covered in leftover adhesive that has to come off completely before new tape can bond. This is the step people skip most often, and it’s why so many “reused” sets fail within days.
Professional adhesive solvent remains the safest choice here too. Skip the temptation to reach for cooking oils, coconut oil, or dish soap. Vendor guidance warns that oils and household solvents can leave a film on the weft that prevents new adhesive from forming a solid bond, which means your fresh tape might hold for a few days instead of the six to eight weeks it should.
The cleaning sequence that stylists use and that shows up consistently across professional how-to guides looks like this:
-
Apply a fresh coat of adhesive remover directly to the residue on the weft.
-
Gently scrape or brush away the softened adhesive with a comb, working from the base outward.
-
Wash the weft with a clarifying shampoo to strip any remaining oily film.
-
Lay it flat on a clean towel and let it air dry completely before storing or retaping.
Skipping the clarifying wash is a common shortcut that backfires. Adhesive remover breaks down tape, but it can leave a light residue of its own, and clarifying shampoo is what actually clears the weft down to a clean, bondable surface.
Not every weft passes this test. If residue has hardened into the hair strands themselves, if the weft base feels stiff or brittle after cleaning, or if you notice strands snapping off during the brushing step, that weft has reached the end of its usable life. No amount of cleaning restores a base that’s structurally compromised.
How Do You Retape and Reinstall Extensions Correctly?
Fresh tape is what actually makes reuse possible, so getting this step right matters as much as removal did.
Start with tape selection. Width should match your original install, typically narrower strips for finer hair sections and standard widths for thicker rows. Skip generic adhesive tape and use extension-specific tabs, which are formulated to bond with both the weft and your natural hair without the harsh pull of lower-grade products. Single-use tabs work well for touch-ups on individual rows, while full strips suit a complete reinstall.
Once you have the right tape, the retaping sequence goes like this:
-
Section the natural hair to a clean, even width matching the tape-in.
-
Align the new tape strip along the top of the weft, pressing firmly to bond it fully.
-
Sandwich the section of natural hair between the taped weft and a matching bottom piece.
-
Press along the entire length of the bond for several seconds, using body heat to help the adhesive set.
-
Space each row roughly 1 to 1.5 centimeters above the previous one to avoid restacking tape directly on old bond marks.
Tension is where fine-haired clients need extra care. Loading full-width wefts straight onto delicate strands puts pressure exactly where hair is weakest. Stylists increasingly favor mini-tapes distributed across more sections rather than fewer, heavier rows, a strategy that reduces the strain on both your natural hair and the extension weft. It takes slightly longer at the chair, but it’s often the difference between a set that lasts three retape cycles and one that only survives one.
How Many Times Can You Retape Tape-Ins, and When Should You Move Up?
There’s no fixed number that applies to every set, but industry patterns give you a realistic range to plan around.
High-quality extension retailers commonly report that three to five retape cycles is typical for premium hair when the hair is well maintained between installs. Lower-quality or non-Remy hair rarely makes it past one or two cycles before shedding and tangling make further reuse impractical. Your actual number depends on how gently the hair gets handled, how consistent your at-home care routine is, and how much heat and chemical exposure the strands see along the way.
Move-up timing follows a fairly consistent industry standard. Stylists generally recommend adjusting tape-ins every six to eight weeks, as natural hair growth shifts the bond away from the scalp. If your hair is fine or grows faster than average, you may need to move up closer to the five to six week mark to avoid excess tension on individual strands.
Watch for these signs that a set has reached its limit rather than needing another routine retape:
-
Tangling that returns within a day or two of brushing, no matter how carefully you detangle.
-
Visibly thinning ends on the weft itself, not just your natural hair.
-
Cuticle damage that shows up as a rough, straw-like texture along the extension strands.
When two or more of these show up together, it’s time to plan for new hair rather than another retape.
How Do You Care for and Store Tape-Ins Between Move-Ups?
Daily habits do more to protect your reuse potential than any single removal or retaping step, because they determine how much stress the adhesive and hair endure between salon visits.
Stick to sulfate-free shampoo and conditioner, and keep both away from the root area where the tape sits. Sulfates and heavy conditioning oils near the bond soften the adhesive prematurely, which shortens the time between move-ups and increases how much residue you’ll be scraping off later. Brush from the ends upward, working knots out gently rather than dragging a brush straight through from root to tip.
At night, loosely braid your hair or put it in a low ponytail, and sleep on a silk pillowcase rather than cotton. The reduced friction keeps tape bonds intact longer and cuts down on the matting that makes hair unreusable. Swimming or humid weather calls for extra care too: rinse chlorine or salt water out promptly, and avoid letting hair stay wet and tangled for long stretches.
When you’re storing a removed set between cleaning and retaping, make sure the wefts are completely dry before you pack them away. Lay them flat in a breathable bag, away from direct heat sources, and avoid stacking anything heavy on top that could crease the weft base.
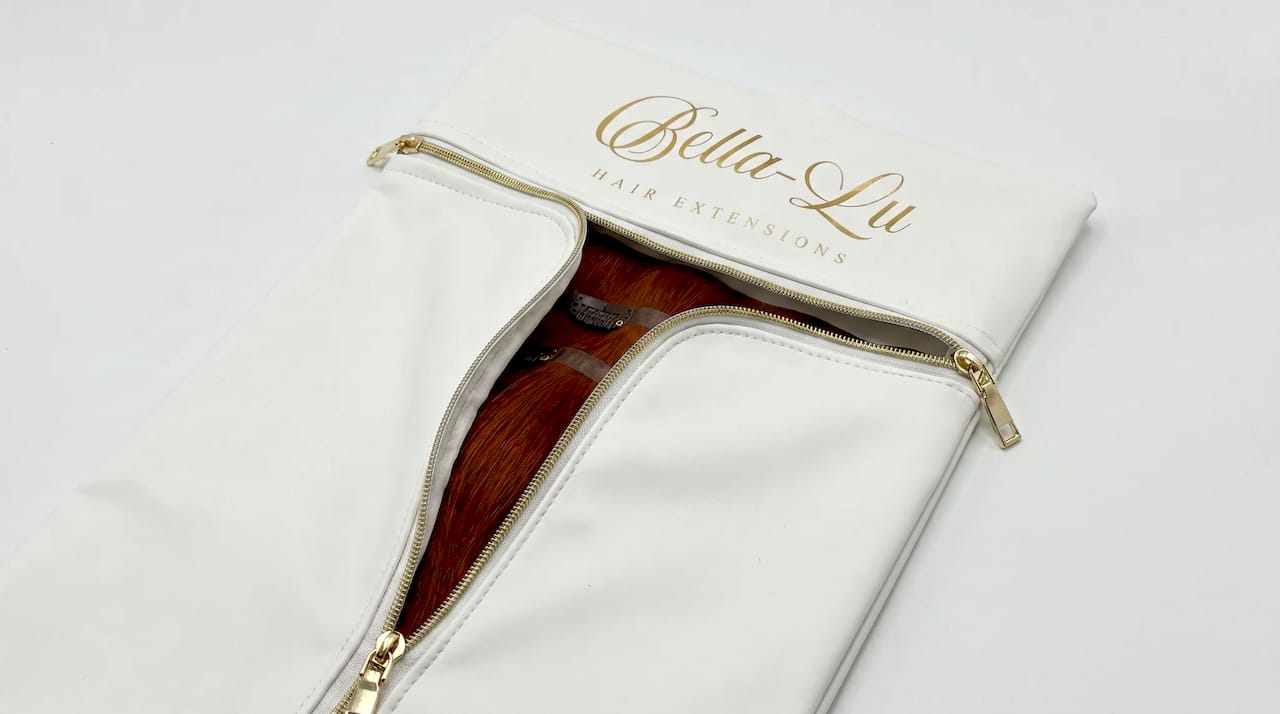
Pro Tip: A dedicated storage case keeps wefts flat and protected far better than a drawer or bag not designed for the shape of a weft. It’s a small investment that pays off across multiple reuse cycles.
Should You Retape at Home or Book a Stylist?
Professional removal earns its reputation for a reason. Stylists use dedicated solvents, work fast enough to limit exposure time, and know how to blend new tape rows into your natural hair without leaving visible transition lines. That combination of speed and technique is what prevents the accidental damage that turns a reusable set into a discard.
DIY removal and retaping can work for simple touch-ups if you have the right adhesive remover, a comfortable working space, and realistic patience for the process. It’s not something to attempt for the first time the night before an event.
Certain situations call for a stylist regardless of your comfort level with DIY:
-
Scalp irritation, redness, or tenderness around existing tape rows.
-
Shedding that seems excessive compared to your normal hair loss.
-
Wefts that feel matted or stiff no matter how much you brush them.
-
Any uncertainty about whether the hair underneath has been damaged by heat or chemical treatments.
When in doubt, a quick consultation costs far less than replacing a set you damaged trying to save money on a salon visit.
Why Bella-Lu Approaches Tape-Ins Differently
Tape-Ins only work if the hair inside the band can handle the weight without being bulk or shedding. Which is why Bella-Lu builds every set around cuticle-intact human hair designed to hold up through multiple retape cycles rather than one. That construction quality is the foundation everything in this guide depends on. No removal technique or adhesive can compensate for hair that was never strong enough to survive a second install.
If you’re working with a stylist on your next move-up, ask specifically about their retaping process and the adhesive remover they use. A stylist who treats your extensions as reusable, not disposable, is protecting an investment you’ve already made in quality hair.
What Do Stylists Get Wrong About Retaping Advice?
Most advice about tape-in extensions treats every set the same way, offering one generic move-up schedule and one generic reuse count regardless of hair quality. That’s backwards. The condition of the weft and the quality of the hair inside it matter more than any calendar reminder.
What gets underestimated is how much damage happens during removal, not during wear. A set can survive eight weeks of daily wear just fine and still fail on the first retape attempt because someone rushed the solvent or scraped too hard cleaning the weft. The wear phase is rarely where reuse potential gets lost. The handling in between is.
If you take one thing from this guide, prioritize the cleaning step over everything else. It’s the part people skip fastest and the part that determines whether your next tape actually bonds. Buy the best hair you can afford, treat the adhesive as disposable, and treat the weft like the asset it actually is.
— Bella-Lu Editors
Ready to Retape With Hair Built to Last?
Not every tape-in set is built with reuse in mind, and that’s usually where the frustration starts. Extensions made from cuticle-intact human hair typically hold up through removal, cleaning, and retaping cycles, rather than shedding or matting after one wear cycle.
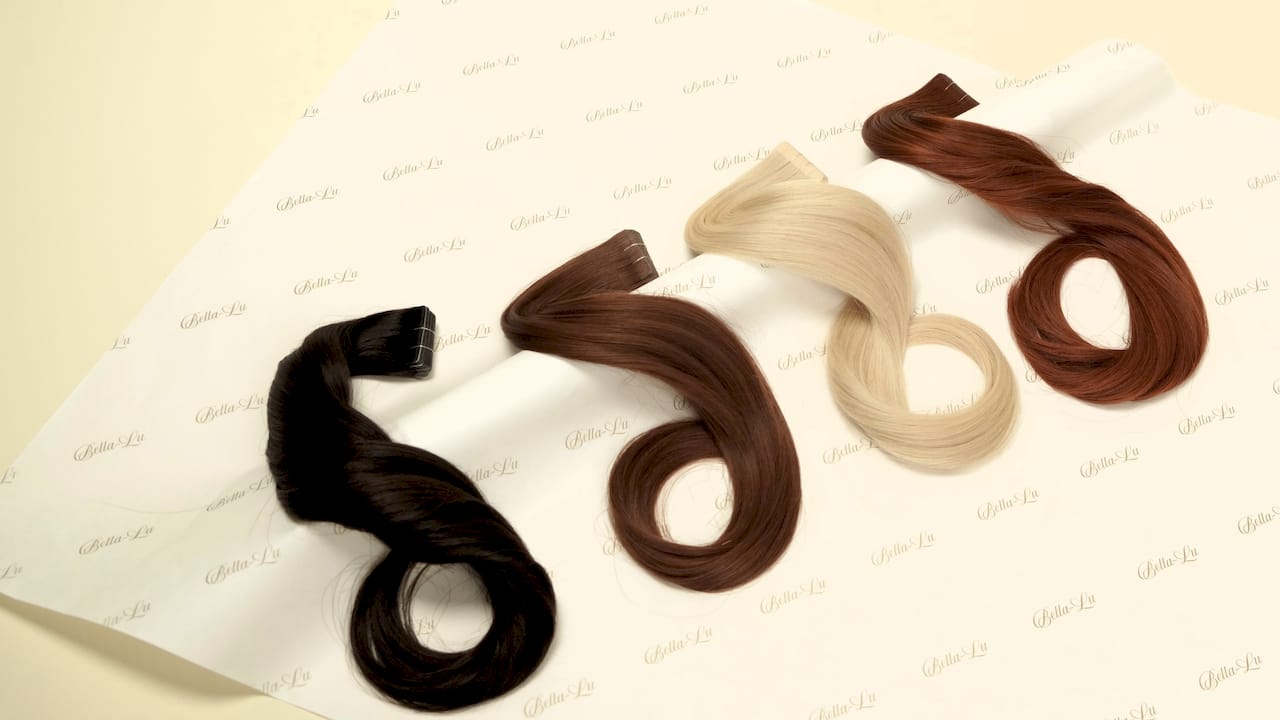
If you’re shopping for your first set or replacing hair that’s finally reached the end of its retape life, our Bella-Lu Tape-In Hair Extensions and Bronde Piano Tape-In Hair Extensions are both built on the same quality standard, ready for a stylist to retape confidently for cycle after cycle. For deeper tones, our Jet Black Tape-In Hair Extensions offer that same reuse-friendly construction. Browse the full collection and talk to your stylist about which set fits your hair type and reuse goals before your next appointment.